Removing Tough Stains from Upholstery and Curtains Easily
Stains on upholstery and curtains are an inevitable part of daily life, whether from spilled coffee, ink marks, or muddy paws. While they may seem daunting, many tough stains can be addressed with common household items and a methodical approach. Understanding the type of fabric and the nature of the stain is the first step toward effective treatment. This article outlines practical, step-by-step techniques that rely on simple ingredients and careful procedures, focusing on transparency and process rather than guaranteeing perfect results. The goal is to provide a framework for handling stains while preserving the integrity of the fabric.
Before any cleaning attempt, it is essential to consider the specific characteristics of the material. Upholstery and curtains come in a wide range of fibers, from cotton and linen to synthetic blends and delicate silk. Each reacts differently to moisture, heat, and cleaning agents. Additionally, the age and setting of the stain influence the approach. Fresh stains generally respond better to treatment than dried or set-in marks. By following a consistent methodology that includes testing and gentle handling, it is possible to reduce the visibility of many stubborn stains without causing damage.
The methods described here are based on widely used household solutions and are intended as informational guidance. Individual results may vary depending on fabric composition, stain chemistry, and external factors such as water hardness or ambient temperature. Professional evaluation is recommended for valuable or delicate textiles. The following sections break down the general process into preparation, solution selection, and application steps for both upholstery and curtains.
Preparing for Stain Removal: Testing and Materials
Before applying any cleaning solution, a thorough preparation step helps avoid unintended damage. The first action is to identify the fabric type by checking care labels or manufacturer instructions. For upholstery, look for a tag underneath cushions or on the frame that indicates the cleaning code (e.g., W for water-based cleaning, S for solvent-based, S/W for both, or X for professional cleaning only). Curtains often have sewn-in labels that specify washing or dry-cleaning recommendations. Ignoring these guidelines can lead to shrinkage, color bleeding, or texture changes.
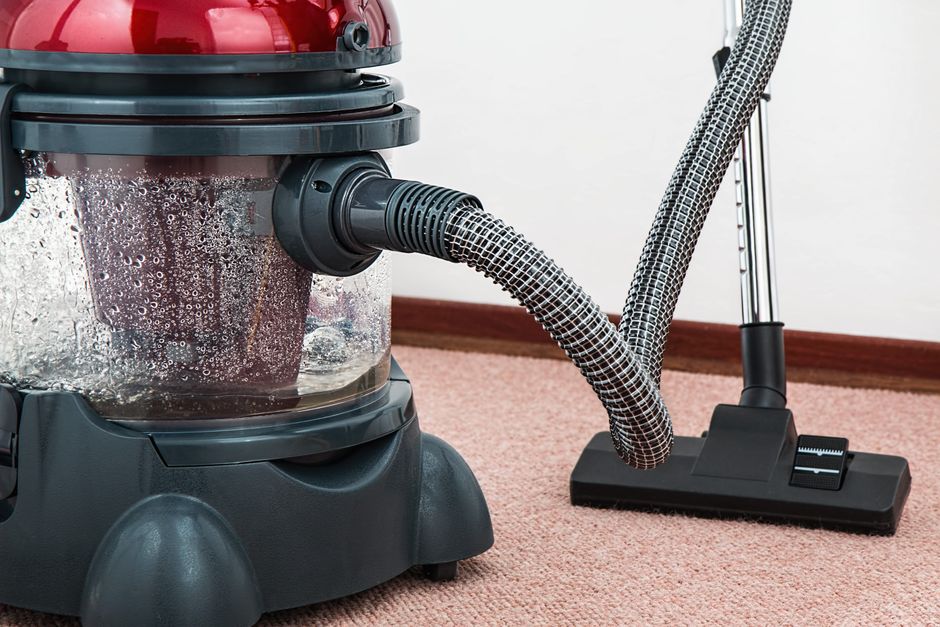
Once the fabric is identified, perform a spot test on an inconspicuous area, such as the back of a cushion or the hem of a curtain. Apply a small amount of the chosen solution, blot with a white cloth, and wait for it to dry. If no discoloration or damage appears, the method is likely safe for general use. Gather the necessary materials: clean white cloths or paper towels, a soft brush or sponge, distilled water, and common household items such as white vinegar, baking soda, dish soap, hydrogen peroxide (3%), rubbing alcohol, and a mild laundry detergent. Avoid colored cloths that may transfer dye. Also, have a vacuum cleaner with an upholstery attachment ready for pre-cleaning loose dirt.
Another important preparatory step is to remove any loose debris or dust from the surface. Vacuum the upholstery or curtains thoroughly, using a brush attachment to lift embedded particles. For curtains, take them down if feasible and shake them outdoors. This reduces the risk of grinding dirt into the fabric during the stain treatment. For large stains, consider placing a barrier like a plastic sheet underneath the area to protect the floor or other furniture. Preparation sets the stage for a more controlled and effective stain removal process.
Common Household Solutions for Different Stain Types
Various household ingredients can be combined to address specific types of stains. The effectiveness of each solution depends on the stain’s origin, the fabric’s tolerance, and the time elapsed. Below is a general overview of commonly used mixtures, each intended for particular stain categories. Always start with the mildest option and gradually increase strength if needed.
- Water-based stains (coffee, tea, juice, mud, soft drinks): Mix one teaspoon of dish soap with two cups of cool water. Alternatively, a solution of equal parts white vinegar and water can help break down sugar and acid residues. Blot, do not rub.
- Oil-based stains (grease, butter, salad dressing, body oils): Sprinkle baking soda or cornstarch onto the stain and let it sit for 15 minutes to absorb the oil. Then brush off and apply a small amount of dish soap mixed with warm water. For persistent greasy marks, rubbing alcohol may be used sparingly.
- Protein-based stains (blood, sweat, milk, egg): Cold water is essential, as heat can set the protein. Soak the area with cold water, then apply a mixture of one tablespoon of liquid laundry detergent (enzyme-based) and two cups of cold water. Hydrogen peroxide (3%) can sometimes help with blood stains on light-colored fabrics.
- Ink and dye stains (pen, marker, food coloring): Rubbing alcohol is a common choice. Dampen a cloth with alcohol and gently dab the stain. For stubborn ink, a cotton swab may be used for pinpoint application. Test on a hidden area first, as alcohol can affect some dyes.
- Wine and berry stains: Blot up excess liquid, then apply a mixture of hydrogen peroxide and a drop of dish soap. The solution often produces a fizzing reaction that lifts the stain. Rinse thoroughly after treatment.
It is important to note that these solutions are not guaranteed to work in all cases. The age of the stain, fabric porosity, and previous treatments can influence the outcome. In some situations, multiple applications or a combination of methods may be necessary. Patience and gentle repetition are more reliable than aggressive scrubbing, which can distort the fabric or spread the stain.
Step-by-Step Process for Upholstery Stains
Upholstery presents unique challenges due to its fixed position, padding, and often large surface area. The following steps provide a systematic approach to treating stains on upholstered furniture. Begin by vacuuming the stained area to remove any dry particles. Then, using a clean white cloth, blot the stain gently to absorb as much liquid as possible. Avoid rubbing, as this can push the stain deeper into the fibers or damage the fabric nap.
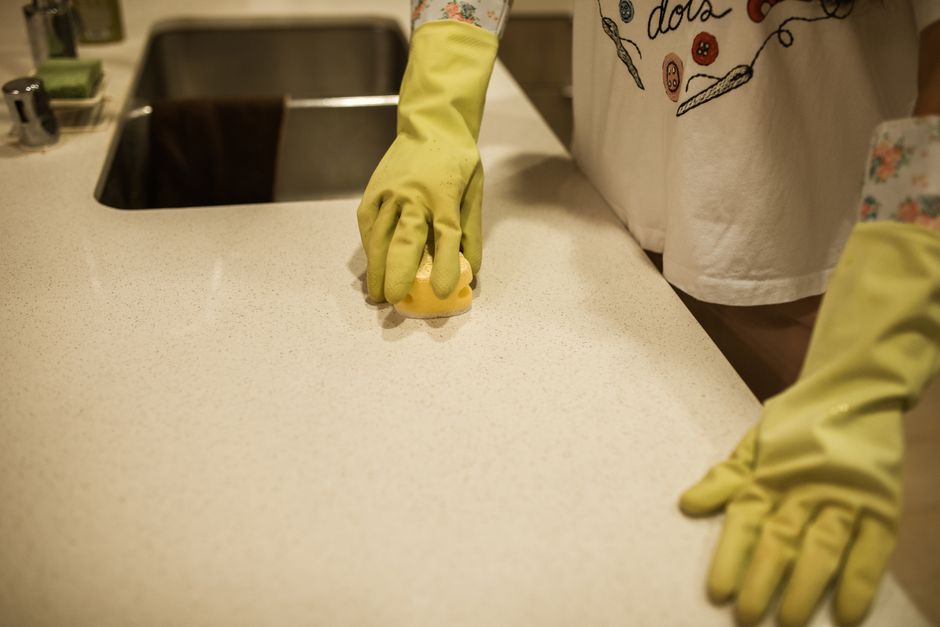
Prepare the chosen solution according to the stain type. Dip a clean cloth into the solution and wring it out so it is damp, not wet. Excessive moisture can soak into the padding and lead to mold or mildew. Starting from the outer edge of the stain, blot inward to prevent spreading. Continue blotting, changing to a fresh part of the cloth frequently, until the stain begins to lift. If the stain is large, work in small sections. For thick upholstery, you may need to place a dry cloth underneath the cushion to absorb any solution that penetrates through.
After the stain is treated, rinse the area by blotting with a cloth dampened with plain water. This helps remove any soap residue that could attract dirt later. Then, blot with a dry cloth to absorb excess moisture. Allow the furniture to air dry completely, ideally with good ventilation. To speed drying, you can point a fan toward the area or open windows. Avoid using heat sources like hair dryers, as heat can set remaining stain components or damage fabric. Once dry, vacuum again to restore the texture. If the stain persists, repeat the process or consider a slightly stronger solution, but always test first.
For set-in stains that do not respond to household methods, professional assessment may be advisable. Fabric protection sprays or treatments can be applied after cleaning, but they do not prevent all future stains. Regular vacuuming and prompt attention to spills remain the most effective maintenance practices. ShinePro offers professional upholstery cleaning services that utilize specialized equipment and products for deep cleaning, but the steps above are intended for general household maintenance.
Step-by-Step Process for Curtain Stains
Curtains often require a different approach because they are usually removable, hang vertically, and may be made from more delicate fabrics. When a stain appears, the first step is to take the curtain down carefully to avoid spreading the mark. If the curtain has a lining, check if the stain soaked through, as separate treatment may be needed. Lay the curtain flat on a clean, towel-covered surface or over a drying rack to allow better access.
Blot the stain with a dry white cloth to remove any excess substance. Do not rub. Then, prepare a mild cleaning solution based on the stain type and fabric care instructions. For most washable curtains (cotton, polyester blends), a solution of cool water and a few drops of liquid laundry detergent works well. For delicates like silk or linen, a solution of white vinegar and water (one part vinegar to four parts water) is often gentler. Dip a cloth into the solution, blot the stain gently, and let it sit for a few minutes.
After treating the stain, rinse the area by blotting with a cloth dampened with cool water. Avoid saturating the fabric. If the curtain is labeled as machine washable, you may launder it according to the manufacturer’s instructions after spot treatment. However, for delicate or dry-clean-only fabrics, do not submerge the entire curtain. Instead, continue with spot rinsing and then lay the curtain flat to dry. Hang it back up only when completely dry to prevent creases or fabric stretching.
For curtains that are not easily removed or are made of non-washable materials (e.g., velvet, lined drapes), spot cleaning with minimal moisture is recommended. Use a foam from a gentle detergent (mix with water to create foam, apply only the foam). Blot with a dry cloth afterward. In such cases, professional cleaning may be the safest option. ShinePro’s curtain cleaning service is designed to handle a variety of fabrics, but the household methods described here can be attempted first, provided the fabric is tested and treated with care.
Maintenance Tips and When to Consider Professional Help
Regular maintenance can reduce the frequency and severity of stains. Vacuuming upholstery and curtains every two to four weeks helps remove dust and loose particles that can embed into fibers over time. For high-traffic areas, more frequent vacuuming is beneficial. Additionally, using washable slipcovers or protective throws on furniture can make cleaning easier. For curtains, a quick shake or gentle dusting every few weeks prolongs the time between deep cleanings.
Despite best efforts, some stains may prove resistant or the fabric may be too delicate for home treatment. Professional cleaning services, such as those offered by ShinePro, utilize steam cleaning, encapsulation, or solvent-based methods that are tailored to specific textiles. These services can also address overall soiling, not just isolated stains. When dealing with antique fabrics, heirloom pieces, or stains that have been set for a long time, professional evaluation is often the most prudent course. The decision to seek professional help depends on the value of the item, the severity of the stain, and the owner’s comfort with DIY methods.
The approaches described in this article are meant to provide a structured framework for attempting stain removal. They are not a substitute for the expertise of professional cleaners, nor do they assure complete removal. By understanding fabric types, using appropriate household solutions, and following step-by-step procedures, many common stains can be addressed effectively. Careful attention to process and patience remain the most reliable tools in any stain removal effort.