How to Remove Grease from Kitchen Cabinets and Counters
Grease buildup is a common challenge in many kitchens, accumulating over time on cabinets, counters, and stovetops. This residue often comes from cooking oils, food splatters, and airborne particles that settle on surfaces. While the sight of sticky, greasy spots may feel discouraging, there are effective ways to address this issue using ingredients and tools that are typically already available at home. The following sections outline a methodical approach to cleaning these areas without relying on harsh chemicals or commercial products.
Understanding the nature of grease helps in choosing the right cleaning strategy. Grease is hydrophobic and tends to cling to surfaces, especially when mixed with dust or cooking residue. Warm water, mild dish soap, baking soda, and white vinegar are common household items that can break down grease effectively. The key is to apply these substances in a way that lifts the grease without damaging the underlying finish of cabinetry or countertops. This guide focuses on a step-by-step process that prioritizes safety, material preservation, and thorough cleaning.
Before beginning any cleaning routine, it is important to test a small, inconspicuous area of the surface to ensure the chosen method does not cause discoloration or damage. Different finishes—such as painted, laminated, or wooden cabinets—may require slight adjustments in technique. The same caution applies to countertops made of granite, quartz, laminate, or tile. By adapting the general steps to the specific material, one can achieve a clean result while maintaining the integrity of the kitchen surfaces.
Understanding Grease Buildup and Its Effects
Grease forms when oils and fats from cooking are released into the air and settle on nearby surfaces. Over time, this layer can combine with dust and other airborne particles, creating a sticky film that attracts more dirt. In many kitchens, areas near the stovetop and oven are most affected, but grease can also travel to upper cabinets and distant countertops. The result is not only an unappealing appearance but also a surface that feels tacky and can harbor odors.
Leaving grease uncleaned for extended periods can make removal more difficult, as the residue hardens and bonds with the surface. Regular cleaning helps prevent the buildup from becoming too stubborn. Additionally, certain materials, such as unfinished wood or porous stone, may absorb grease, making it harder to remove without specialized products. Recognizing these factors allows for a more informed approach to cleaning and maintenance. The focus here is on methods that work for common kitchen materials while avoiding aggressive scrubbing or abrasive tools that could scratch or dull finishes.
Preparing the Space and Gathering Supplies
Before starting, it is useful to clear the area of any items that may obstruct access to cabinets and counters. Removing small appliances, jars, and decorations makes the cleaning process more efficient and reduces the risk of accidentally damaging objects. A clear workspace also allows for better visibility of the greasy spots that need attention.
The following supplies are commonly used for natural grease removal:
- White vinegar
- Baking soda
- Mild dish soap (preferably grease-cutting)
- Warm water
- Soft microfiber cloths or sponges
- Non-abrasive scrubbing brush (optional)
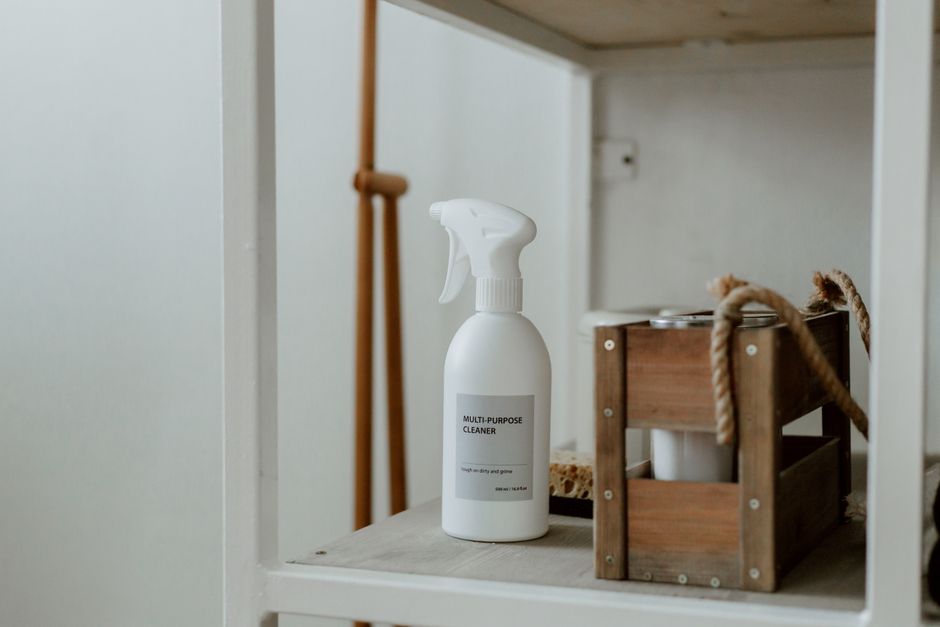
- Spray bottle
- Bucket or bowl for mixing solutions
Each ingredient plays a specific role. Vinegar helps dissolve grease due to its acidity, though it should be diluted to avoid damaging certain finishes. Baking soda acts as a gentle abrasive that can lift stuck-on residue without scratching. Dish soap is effective at breaking down oils, especially when combined with warm water. Microfiber cloths are preferred because they trap grease rather than spreading it around. Having these items on hand allows for a systematic cleaning process that can be repeated as needed.
Cleaning Kitchen Cabinets Step by Step
Cabinets, particularly the upper ones, often accumulate a thin layer of grease that can be overlooked during routine cleaning. The method described here is suitable for most cabinet finishes, including painted, laminate, and sealed wood. Start by mixing a solution of warm water and a few drops of mild dish soap in a bowl. Dampen a microfiber cloth with this solution and wring it out well to avoid excess moisture, which can warp wood or seep into seams.
Wipe each cabinet door and frame using gentle, even strokes. Pay special attention to areas around handles and edges where grease tends to collect. For stubborn spots, create a paste of baking soda and a small amount of water. Apply the paste to the greasy area using a soft cloth or sponge, and let it sit for a few minutes before gently rubbing in a circular motion. After lifting the residue, wipe the surface with a clean, damp cloth to remove any baking soda residue. Finally, dry the cabinets thoroughly with a separate microfiber cloth to prevent water marks or streaks.
If grease has built up over a long period, a second pass may be necessary. In such cases, a mixture of equal parts white vinegar and warm water can be sprayed lightly onto the cloth—not directly onto the cabinet—to help break down the grease more effectively. Always avoid soaking the wood or allowing liquid to drip into crevices. Regular maintenance, such as wiping down cabinets every few weeks, can reduce the need for deep cleaning sessions.
Removing Grease from Countertops
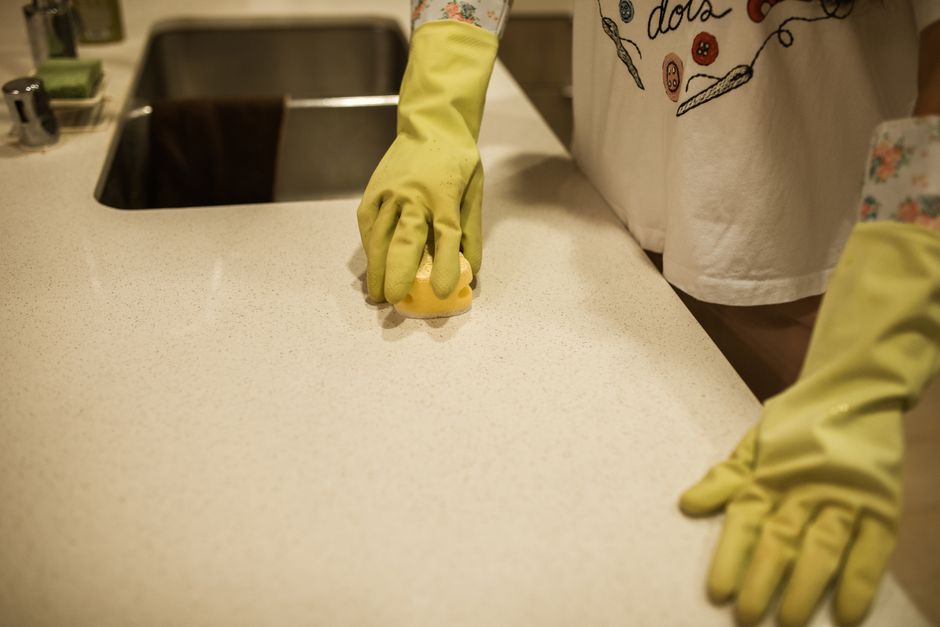
Countertops are exposed to a constant stream of cooking activities, making them prone to grease splatters and spills. The cleaning approach should align with the countertop material to avoid damage. For laminate and sealed granite surfaces, a solution of dish soap and warm water is generally safe and effective. Spray or apply the solution onto the countertop and let it sit for a minute to loosen the grease. Then wipe with a soft sponge or cloth, rinsing frequently to remove the loosened oils.
For tougher grease spots, a paste of baking soda and water can be used. Apply it to the affected area and gently scrub with a non-abrasive sponge. Avoid using abrasive pads or steel wool on any countertop, as they can scratch even durable surfaces. After cleaning, rinse the area with a damp cloth and dry it thoroughly to prevent water spots or soap residue. For stone countertops, such as marble or granite, it is important to avoid acidic cleaners like vinegar or lemon juice, as they can etch the surface. Instead, stick to a pH-neutral dish soap solution and ensure the countertop is sealed appropriately to resist stains.
Counters near the stovetop may require more frequent attention. A quick wipe-down after each cooking session can prevent grease from accumulating. In between deeper cleans, a spray of diluted vinegar (for non-stone surfaces) or a commercial degreaser formulated for the specific material can help maintain a clean appearance. However, natural methods remain a reliable first choice for most everyday cleaning needs.
Addressing Stovetop Grease and Burned-On Residue
The stovetop is often the epicenter of grease buildup, with splatters from frying, boiling, and sautéing landing on burners and surrounding surfaces. For glass or ceramic cooktops, a gentle approach is essential to avoid scratching. Start by allowing the stovetop to cool completely. Then scrape off any loose food particles with a plastic scraper designed for cooktops. Next, apply a small amount of dish soap to a damp sponge and wipe the surface. For burned-on grease, a paste of baking soda and water can be left on the spot for five to ten minutes before gently scrubbing.
For gas stovetops with removable grates and burner caps, these parts can often be soaked in warm, soapy water. Use a brush to clean the crevices where grease tends to hide. After soaking, rinse thoroughly and allow them to dry before reassembling. The stovetop surface itself can be wiped with a vinegar-water solution, provided the manufacturer’s guidelines permit it. Some stovetops may have special coatings that require non-abrasive cleaners, so it is always advisable to consult the owner’s manual for specific recommendations.
Consistent maintenance on the stovetop reduces the need for heavy scrubbing. Wiping up spills immediately after cooking prevents them from hardening. Using a splatter screen during frying can also minimize the spread of grease. These small habits contribute to a cleaner kitchen overall and make the deep cleaning process less demanding.
Maintaining a Grease-Free Kitchen Over Time
Once the major cleaning is complete, establishing a routine can help keep cabinets, counters, and stovetops in good condition. A weekly wipe-down with a mild soapy solution followed by a dry cloth is often sufficient for areas that are not heavily used. For high-traffic zones near the stove, a more frequent daily or every-other-day cleaning can prevent grease from building up again.
Ventilation also plays a role. Using an exhaust fan or range hood while cooking helps capture airborne grease before it settles on surfaces. Regular cleaning or replacement of the range hood filter ensures it remains effective. Additionally, placing trivets or heatproof mats near the stove can catch splatters and reduce the amount of grease that reaches adjacent counters and cabinets.
The methods described in this guide rely on common household ingredients and straightforward techniques that can be adapted to most kitchen setups. There is no single solution that works perfectly for every situation, as factors such as surface material, cooking frequency, and environmental conditions all influence the rate of grease accumulation. By staying consistent with cleaning practices and adjusting techniques as needed, maintaining a grease-free kitchen becomes a manageable part of daily life.